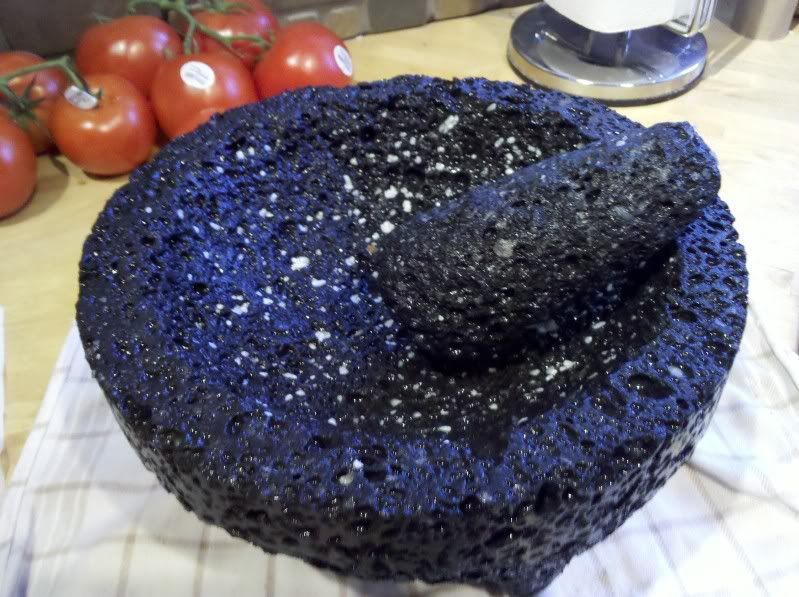
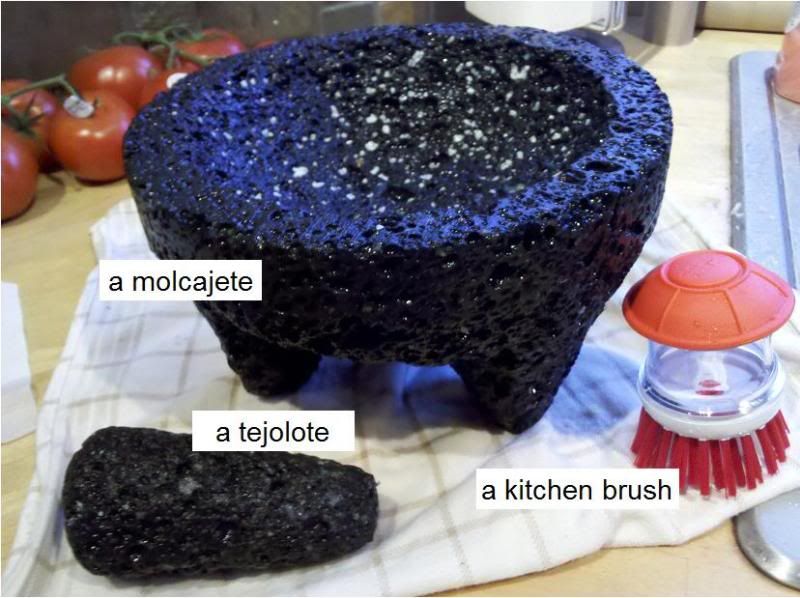
I recently got a molcajete from my husband as an early holiday gift, and I’m really excited about it. What is a molcajete you ask? It’s a three-legged Mexican mortar and pestle made from basalt. They work really well, because the rock is so porous that it makes a great grinding surface. They are also very durable; they are traditionally handed down from mother to daughter through the generations. Another great thing about the molcajete is that it is so porous it tends to absorb the flavor of whatever you make in it, so it becomes seasoned over time like a cast iron skillet. Salsas, guacamole, and mole are all traditionally made in the molcajete. The grinding action breaks apart the seeds in tomatoes and peppers, releasing essential oils and making your salsas taste amazing. Molcajete’s are great for grinding spices as well.
So you want a molcajete? First, make sure that you order a good one. Many suppliers sell molcajetes that are just pressed concrete textured to look like basalt, or other imitation materials. These molcajetes can never be cured properly, and will always leave your salsas full of grit. I ordered the highest quality one I could find from Amazon for around fifty bucks: the RSVP Endurance Molcajete made from natural basalt. They didn’t lie when they advertised that this thing is made to last. It’s certainly difficult enough to cure and season! But the effort is definitely worth it once it’s accomplished.
A molcajete has to be cured before use by wearing down the inside of the stone bowl a bit, so that when you grind food up inside of it grit won’t break off and ruin your food. After it is cured, it can be properly seasoned to start you off making delicious salsas and guacamole. After much research and some trial and error, I’ve come up with what I think is a pretty full-proof way to cure and season a good, sturdy molcajete.
First, fill your molcajete with water and let soak for an hour to make the stone easier to grind down.
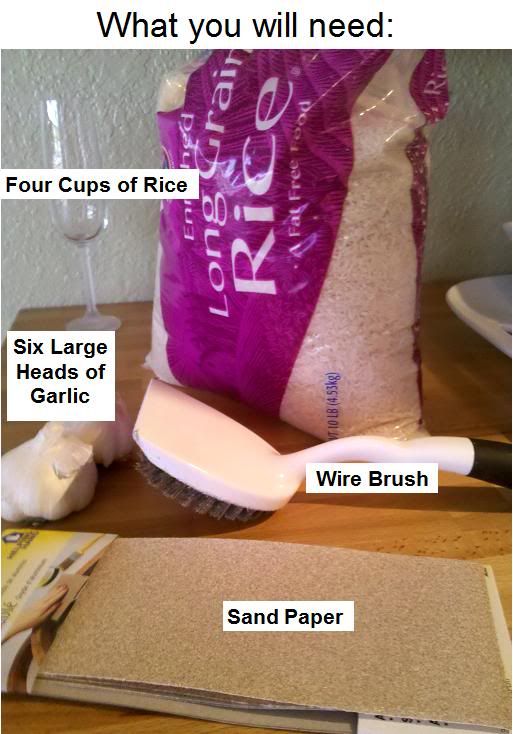
Second, take your wire brush and your molcajete outside if possible, and vigorously brush the inside of the molcajete bowl for thirty minutes. This replaces hours and hours of grinding with rice. Then grab your water hose and, either with your thumb or an attachment, use high water pressure to thoroughly spray out all of the grit that has accumulated in the molcajete.
Third, use coarse sand paper to further wear down the bowl of the molcajete, and to scrape off some of the metal from the wire brush that will inevitably coat the surface of the bowl. I sanded mine for about ten minutes; it doesn’t take long for the sand paper to be used up against such a hard surface. After that, wash out the molcajete with your water hose again.
Fourth, put a cup of rice in your molcajete (which should still be wet from being sprayed down), and use the tejolote to grind it into a powder or paste. It should look like this, or even finer:
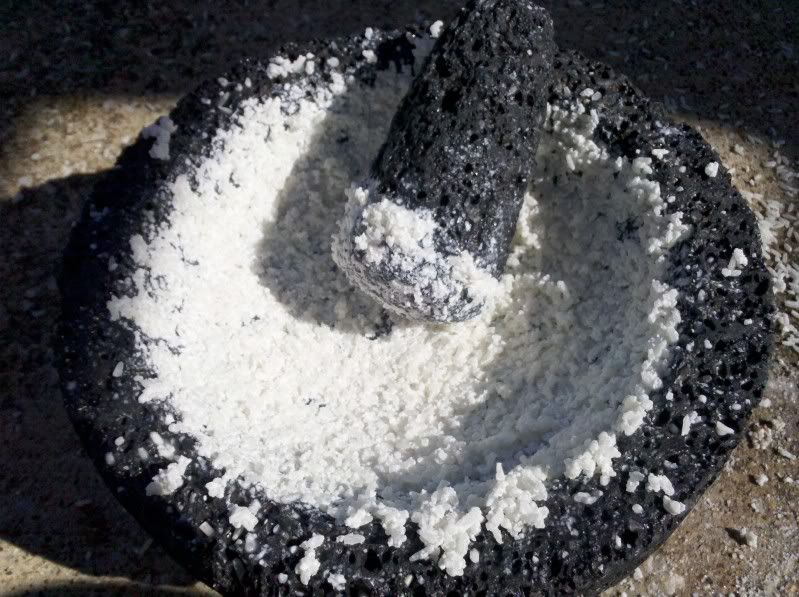
Repeat, this step three more times, or until the rice does not turn gray and contains no grit. Then rinse out the molcajete using the water hose one more time. If there is still some rice wedged into the pores of your molcajete, that is perfectly alright.
Fifth, peel all the cloves from the six heads of garlic, and put them into your molcajete. You can also add a teaspoon of coriander if you like. Grind it all up into a paste, and coat the inside of the bowl with it. Make sure it gets deep into the pores of the molcajete. When finished, it should look like this:
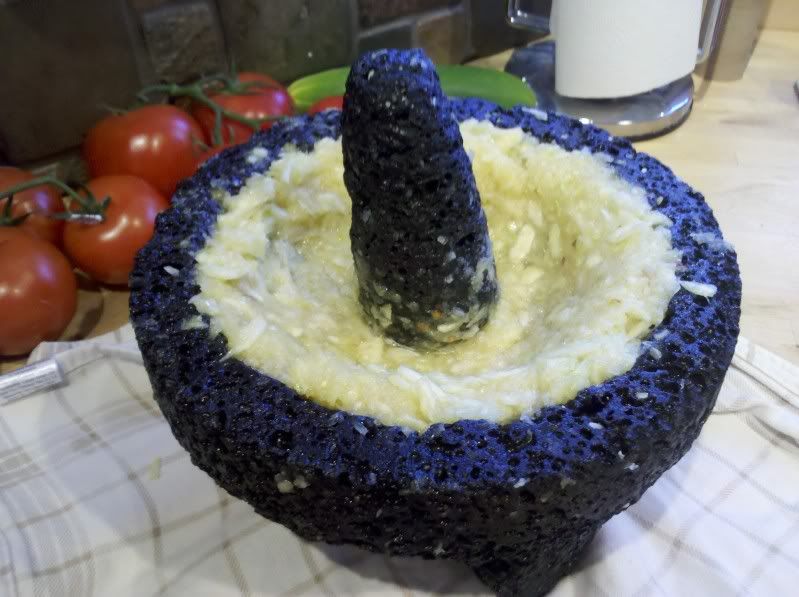
Let the garlic paste sit overnight in the molcajete; this adds oils to the molcajete and seasons it with a good flavor that will add to your salsas and guacamole. The next day, rinse the molcajete out as good as you can with the water hose. Then, bring it inside and use your kitchen brush to brush off the remaining garlic, and rise it off in the sink.
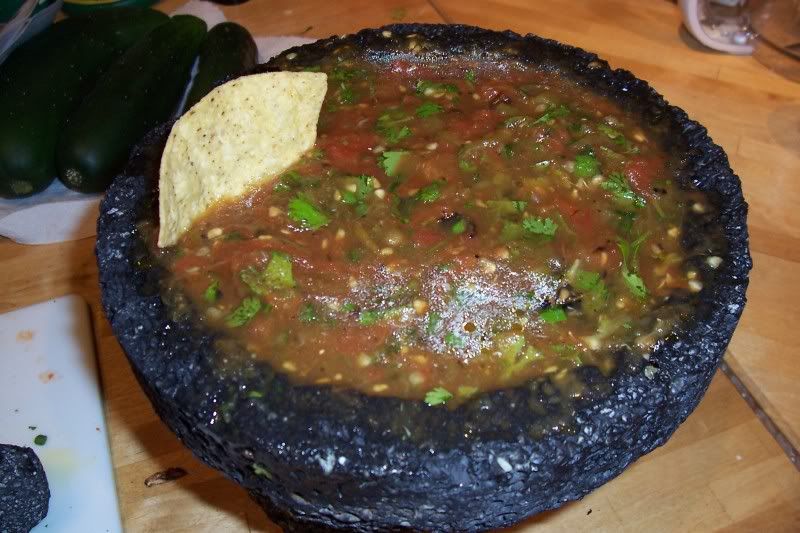
Now your molcajete should be thoroughly cured and seasoned, and ready to make delicious grit free salsa!
¡Disfrute!
No comments:
Post a Comment